Exploring the Yoga Squat Pose
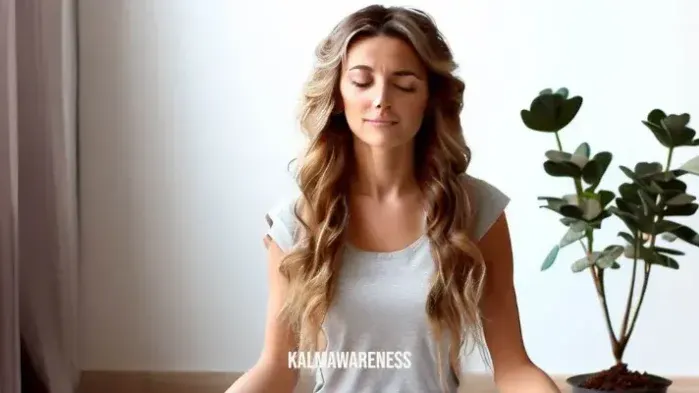
Welcome to the world of yoga, where we delve into the fascinating realm of yoga poses. In this article, we will explore the captivating and beneficial Yoga Squat Pose, known for its ability to strengthen, stretch, and invigorate the body and mind.
Pose Name: Yoga Squat Pose
Original Name: Malasana
Difficulty Level: Intermediate
Pose Category: Standing Poses
Exercise Duration: Hold for Beginners: 30 seconds to 1 minute | Hold for Advanced Practitioners: 1 to 2 minutes
Introduction to Yoga Squat Pose
The Yoga Squat Pose, or Malasana, is a grounding and intense pose that targets various muscle groups, providing a myriad of benefits to the body and mind. This pose, often referred to as the Garland Pose, challenges the legs, ankles, and hips, while also promoting flexibility in the groin and lower back.
Step-by-Step Guide to Yoga Squat Pose
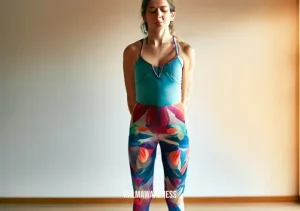
- Starting Position: Begin by standing with your feet hip-width apart. Take a moment to connect with your breath, relaxing your shoulders and lengthening your spine.
- Squatting Down: Slowly bend your knees and lower your hips towards the floor, coming into a squatting position. Your feet should remain flat on the ground, and your heels may lift slightly if needed.
- Align Your Knees: Ensure that your knees are pointing in the same direction as your toes. You can use your elbows to gently press your knees outward, encouraging a deeper stretch in the hips and groin.
- Hands to Heart Center: Bring your hands together at your heart center, pressing your palms firmly. This gesture not only aids in balance but also allows you to focus inward, centering your mind.
- Lengthen Your Spine: Elongate your spine, keeping your chest lifted and your shoulders relaxed. Engage your core muscles to support your lower back.
- Breathing and Relaxing: Take deep, steady breaths, allowing yourself to relax into the pose. If you find it challenging to maintain balance, you can use a block or rolled-up mat under your heels.
- Modifications: For beginners or those with tight hips, placing a block or folded blanket under your heels can make the pose more accessible. Additionally, you can use your hands to support your weight on the floor if needed.
- Exiting the Pose: To release from the Yoga Squat Pose, engage your core and press through your heels as you slowly stand back up. Shake out your legs if necessary, and take a moment to feel the effects of the pose.
Unlocking Its Marvelous Benefits
In the first part of our exploration, we uncovered the essence of the Yoga Squat Pose (Malasana) and its step-by-step guide. Now, let us venture deeper into this empowering posture, understanding its incredible benefits, variations for practitioners of different levels, and essential considerations for those who should approach it with caution.
Benefits of Yoga Squat Pose
The Yoga Squat Pose offers a plethora of advantages that contribute to your physical, mental, and emotional well-being:
- Strengthens Lower Body: This pose targets the muscles of the legs, including the quadriceps, hamstrings, and calf muscles. Regular practice can lead to enhanced leg strength and stability.
- Hip Flexor Stretch: Malasana deeply stretches the hip flexors and groins, which can be especially beneficial for those with tight hips or sedentary lifestyles.
- Opens Hips: As you sink into the squat, your hips open up, promoting flexibility in the hip joint and improving overall hip mobility.
- Tones Abdominal Muscles: The engagement of the core muscles in this pose contributes to improved abdominal strength and toning.
- Digestive Aid: The squatting position can aid in digestion and alleviate discomfort in the digestive tract, making it beneficial for those with digestive issues.
- Spine Alignment: Practicing Yoga Squat Pose helps align the spine, reducing strain on the lower back and promoting better posture.
- Energetic Release: Malasana is believed to stimulate the energy centers in the body, fostering a sense of grounding and balance.
Who Cannot Do Yoga Squat Pose?
While the Yoga Squat Pose is highly beneficial, it may not be suitable for everyone. Individuals with the following conditions or concerns should exercise caution or avoid the pose:
- Knee Injuries: If you have knee injuries or discomfort, it’s crucial to approach this pose with care. Consider using props like cushions or a bolster for support.
- Ankle Issues: Those with ankle injuries or limited ankle mobility should be cautious and may want to modify the pose by placing a rolled-up mat under the heels.
- Lower Back Problems: If you have chronic lower back pain or injuries, consult with a yoga instructor or healthcare professional before attempting this pose.
- Pregnancy: Pregnant individuals should modify the pose to ensure comfort and safety. Avoid compressing the abdomen and seek guidance from a prenatal yoga expert.
Variations of Yoga Squat Pose
The beauty of yoga lies in its versatility, catering to practitioners of all levels. Here are variations of the Yoga Squat Pose that you can explore based on your experience:
- Supported Squat: For beginners or individuals with limited flexibility, place a yoga block under your sitting bones to provide support and stability.
- Lifted Heels Squat: If your heels don’t comfortably touch the floor, place a rolled-up mat or blanket beneath them for added elevation.
- Malasana Twist: After settling into the squat, place your left hand on the floor and reach your right arm towards the ceiling, twisting your upper body. Repeat on the other side.
- Crow Pose Transition: From the squat, shift your weight forward, coming onto your tiptoes, and practice lifting one foot off the ground, then the other, easing into Crow Pose.
Unveiling the History and Spiritual Significance of Yoga Squat Pose
As our captivating journey through the Yoga Squat Pose (Malasana) continues, we now delve into the rich history of this posture, exploring its spiritual significance, and discovering invaluable tips for maximizing its benefits. Additionally, we’ll address common mistakes to avoid and offer modifications for individuals with injuries or limited flexibility. Furthermore, we’ll explore complementary poses that synergize beautifully with the Yoga Squat Pose, creating a harmonious and transformative yoga practice.
The Historical Roots of Yoga Squat Pose
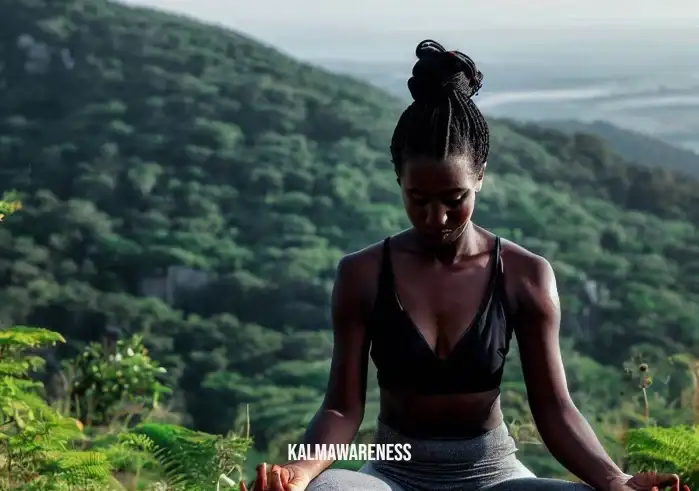
The Yoga Squat Pose has a profound history that dates back to ancient yogic traditions. Originating in India, where yoga was first conceived, the Malasana was integrated into the practice for its numerous physical and spiritual merits. This squatting position was not only used as a yoga pose but also as a natural way of resting, eating, and meditating in everyday life.
The Spiritual Significance of Malasana
Beyond its physical benefits, the Yoga Squat Pose holds deep spiritual significance. This pose is believed to activate the Muladhara Chakra, also known as the Root Chakra. The Root Chakra represents our foundation, grounding, and connection to the earth. By grounding ourselves through the Malasana, we foster a sense of stability, security, and rootedness in both our physical and spiritual lives.
Tips for Embracing the Full Potential of Malasana
To make the most of your Yoga Squat Pose practice, consider the following tips:
- Breath Awareness: Throughout the pose, maintain a steady and mindful breath, allowing it to guide you deeper into the posture.
- Gaze Forward: Fix your gaze slightly forward, promoting better balance and focus during the pose.
- Engage Your Core: Activate your core muscles to support your lower back and maintain stability in the pose.
- Relax Your Shoulders: Keep your shoulders relaxed and away from your ears to release any tension.
- Consistent Practice: Regularly integrate Malasana into your yoga routine to experience its full range of benefits over time.
Common Mistakes to Avoid
While the Yoga Squat Pose offers numerous rewards, certain errors can hinder your experience. Avoid the following common mistakes:
- Collapsing the Chest: Maintain an open chest throughout the pose, avoiding the rounding of the upper back.
- Overextending the Knees: Be mindful not to overextend your knees beyond your toes, as it may cause strain.
- Tensing the Jaw: Keep your facial muscles relaxed and focus on softening your jaw throughout the practice.
Modifications for Injuries or Limited Flexibility
If you face physical limitations, the following modifications can help make the pose more accessible:
- Using Props: Utilize blocks, bolsters, or a rolled-up mat under your heels to support your squatting position.
- Wide-Legged Squat: For those with tight hips, opt for a wide-legged squat to alleviate pressure on the hip joints.
- Chair Squat: If squatting on the ground is challenging, practice a squatting position with the support of a chair.
Complementary Poses for Enhanced Practice
To enhance your yoga journey, integrate these complementary poses with the Yoga Squat Pose:
- Garland Pose Twist: From Malasana, twist your torso to one side, extending your opposite arm upward, embracing a gentle twist.
- Forward Fold: Transition from the squat into a forward fold, extending your legs and hinging at the hips for a soothing stretch.